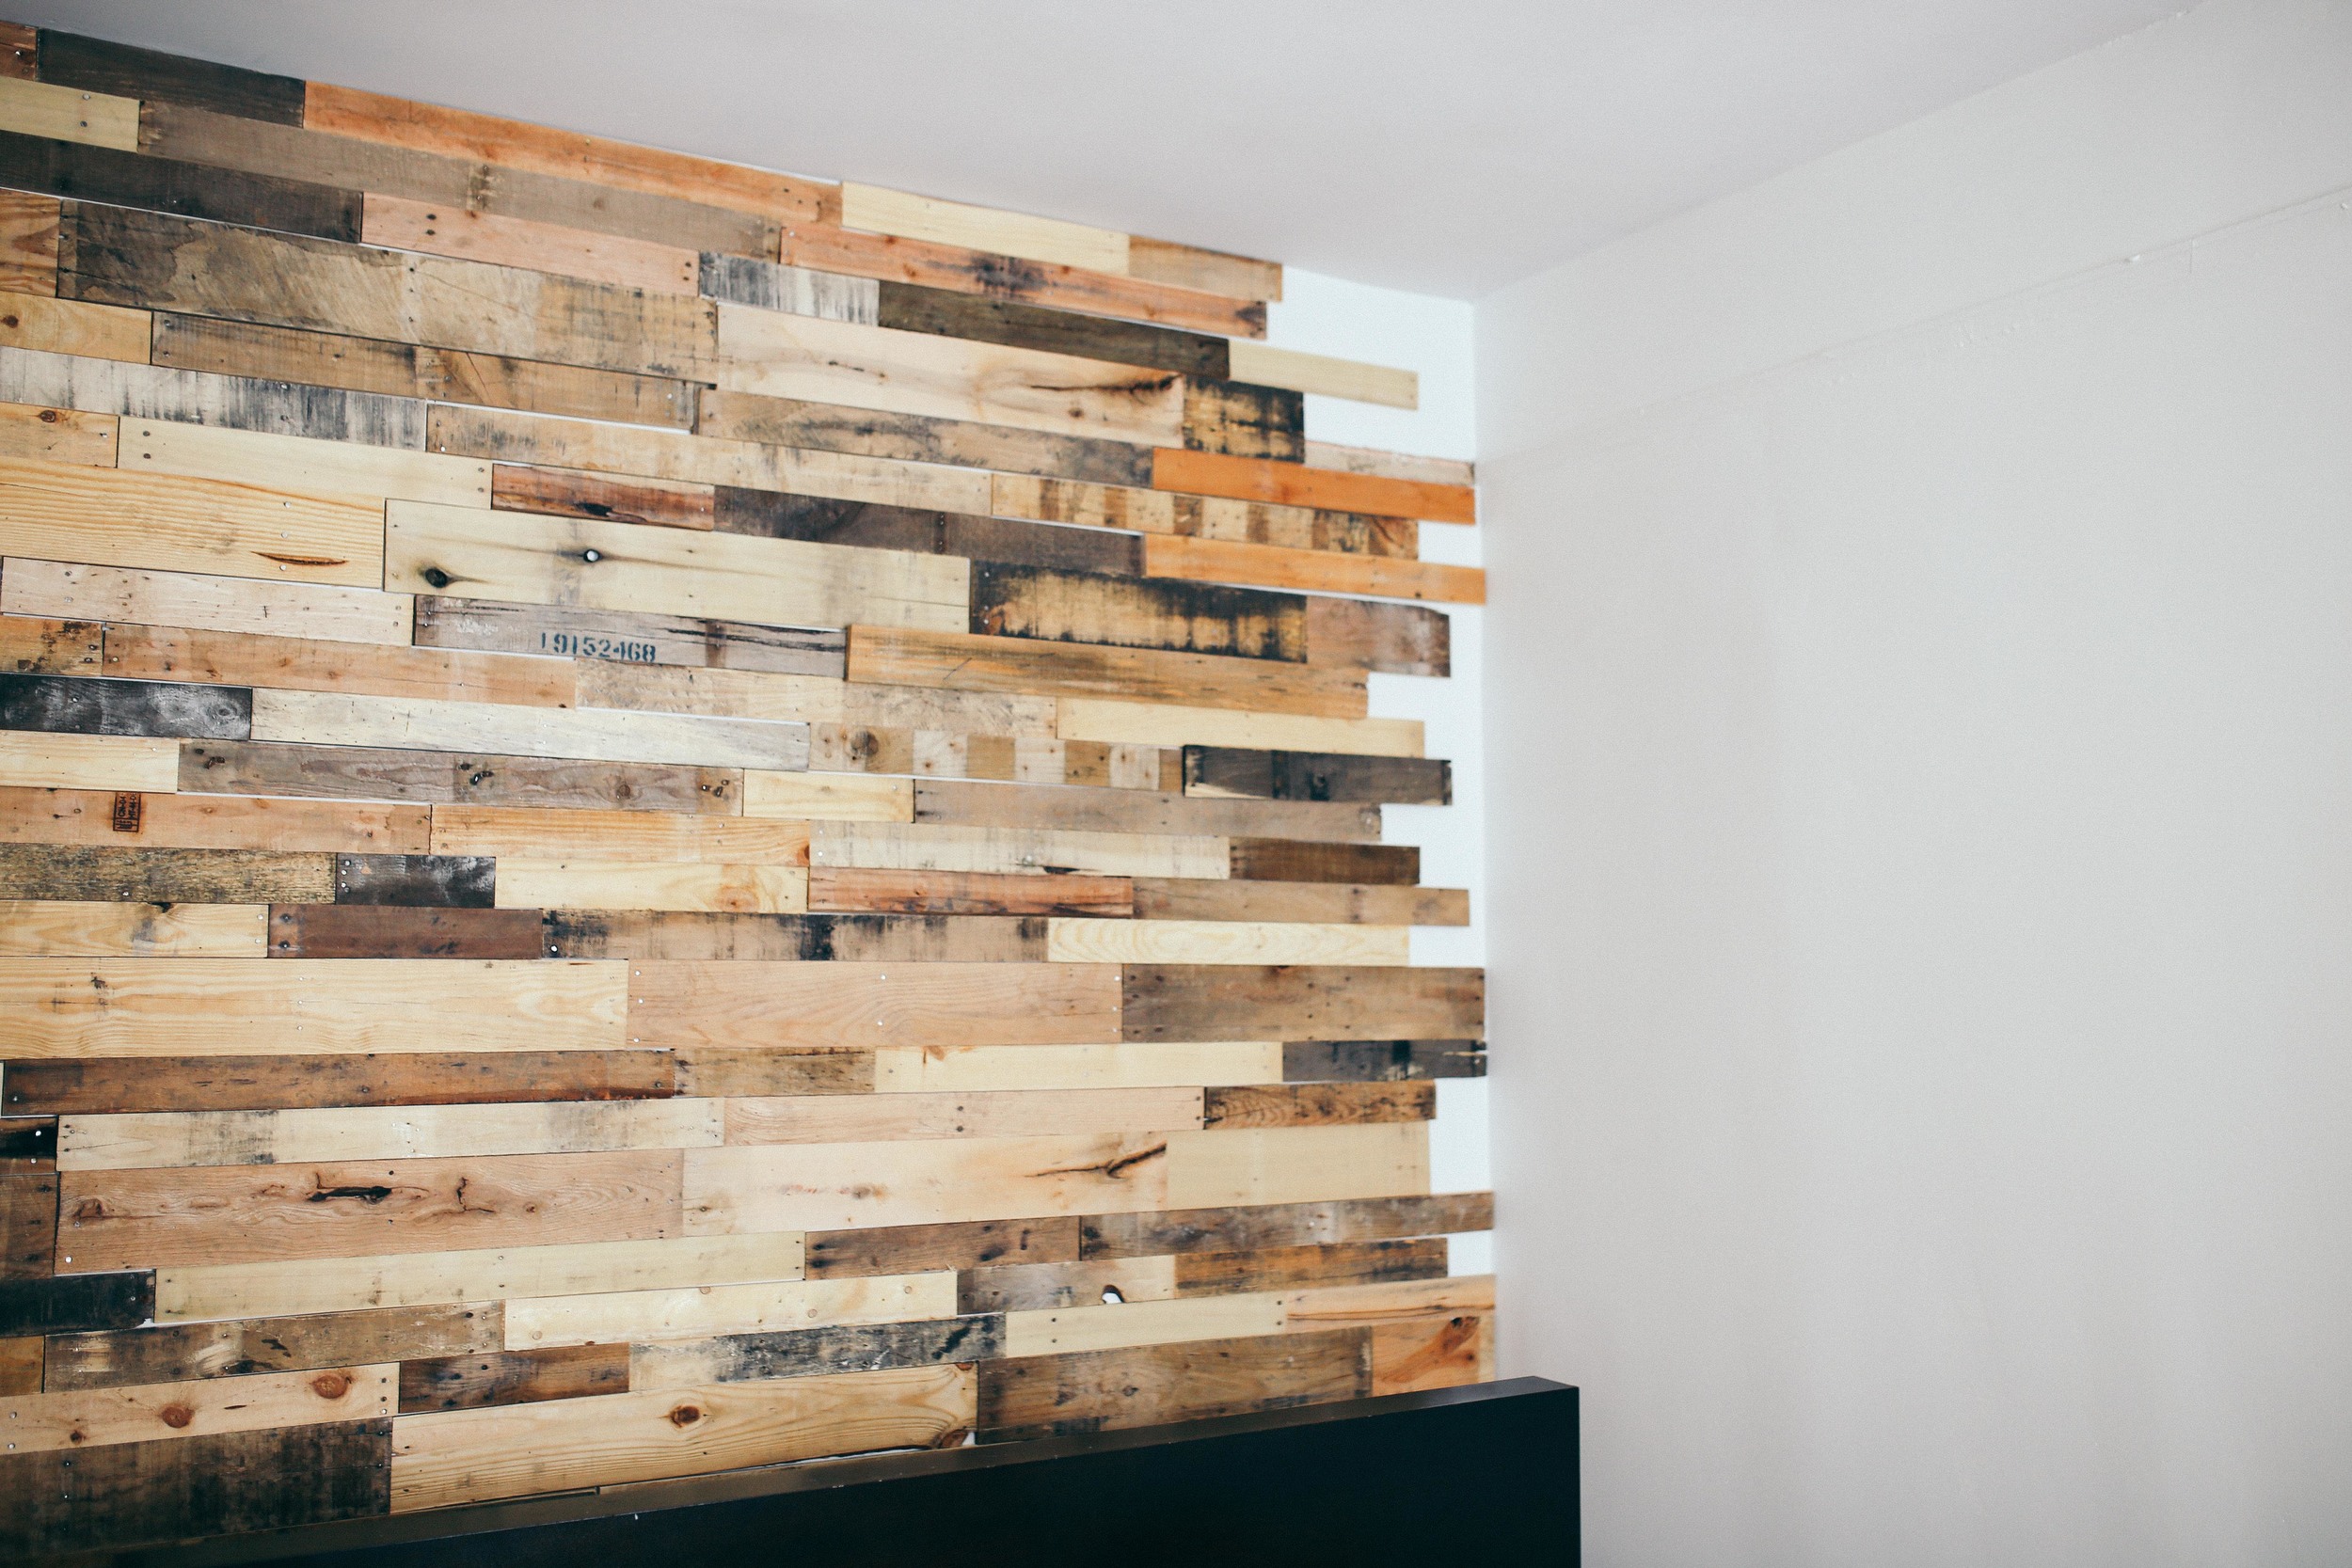
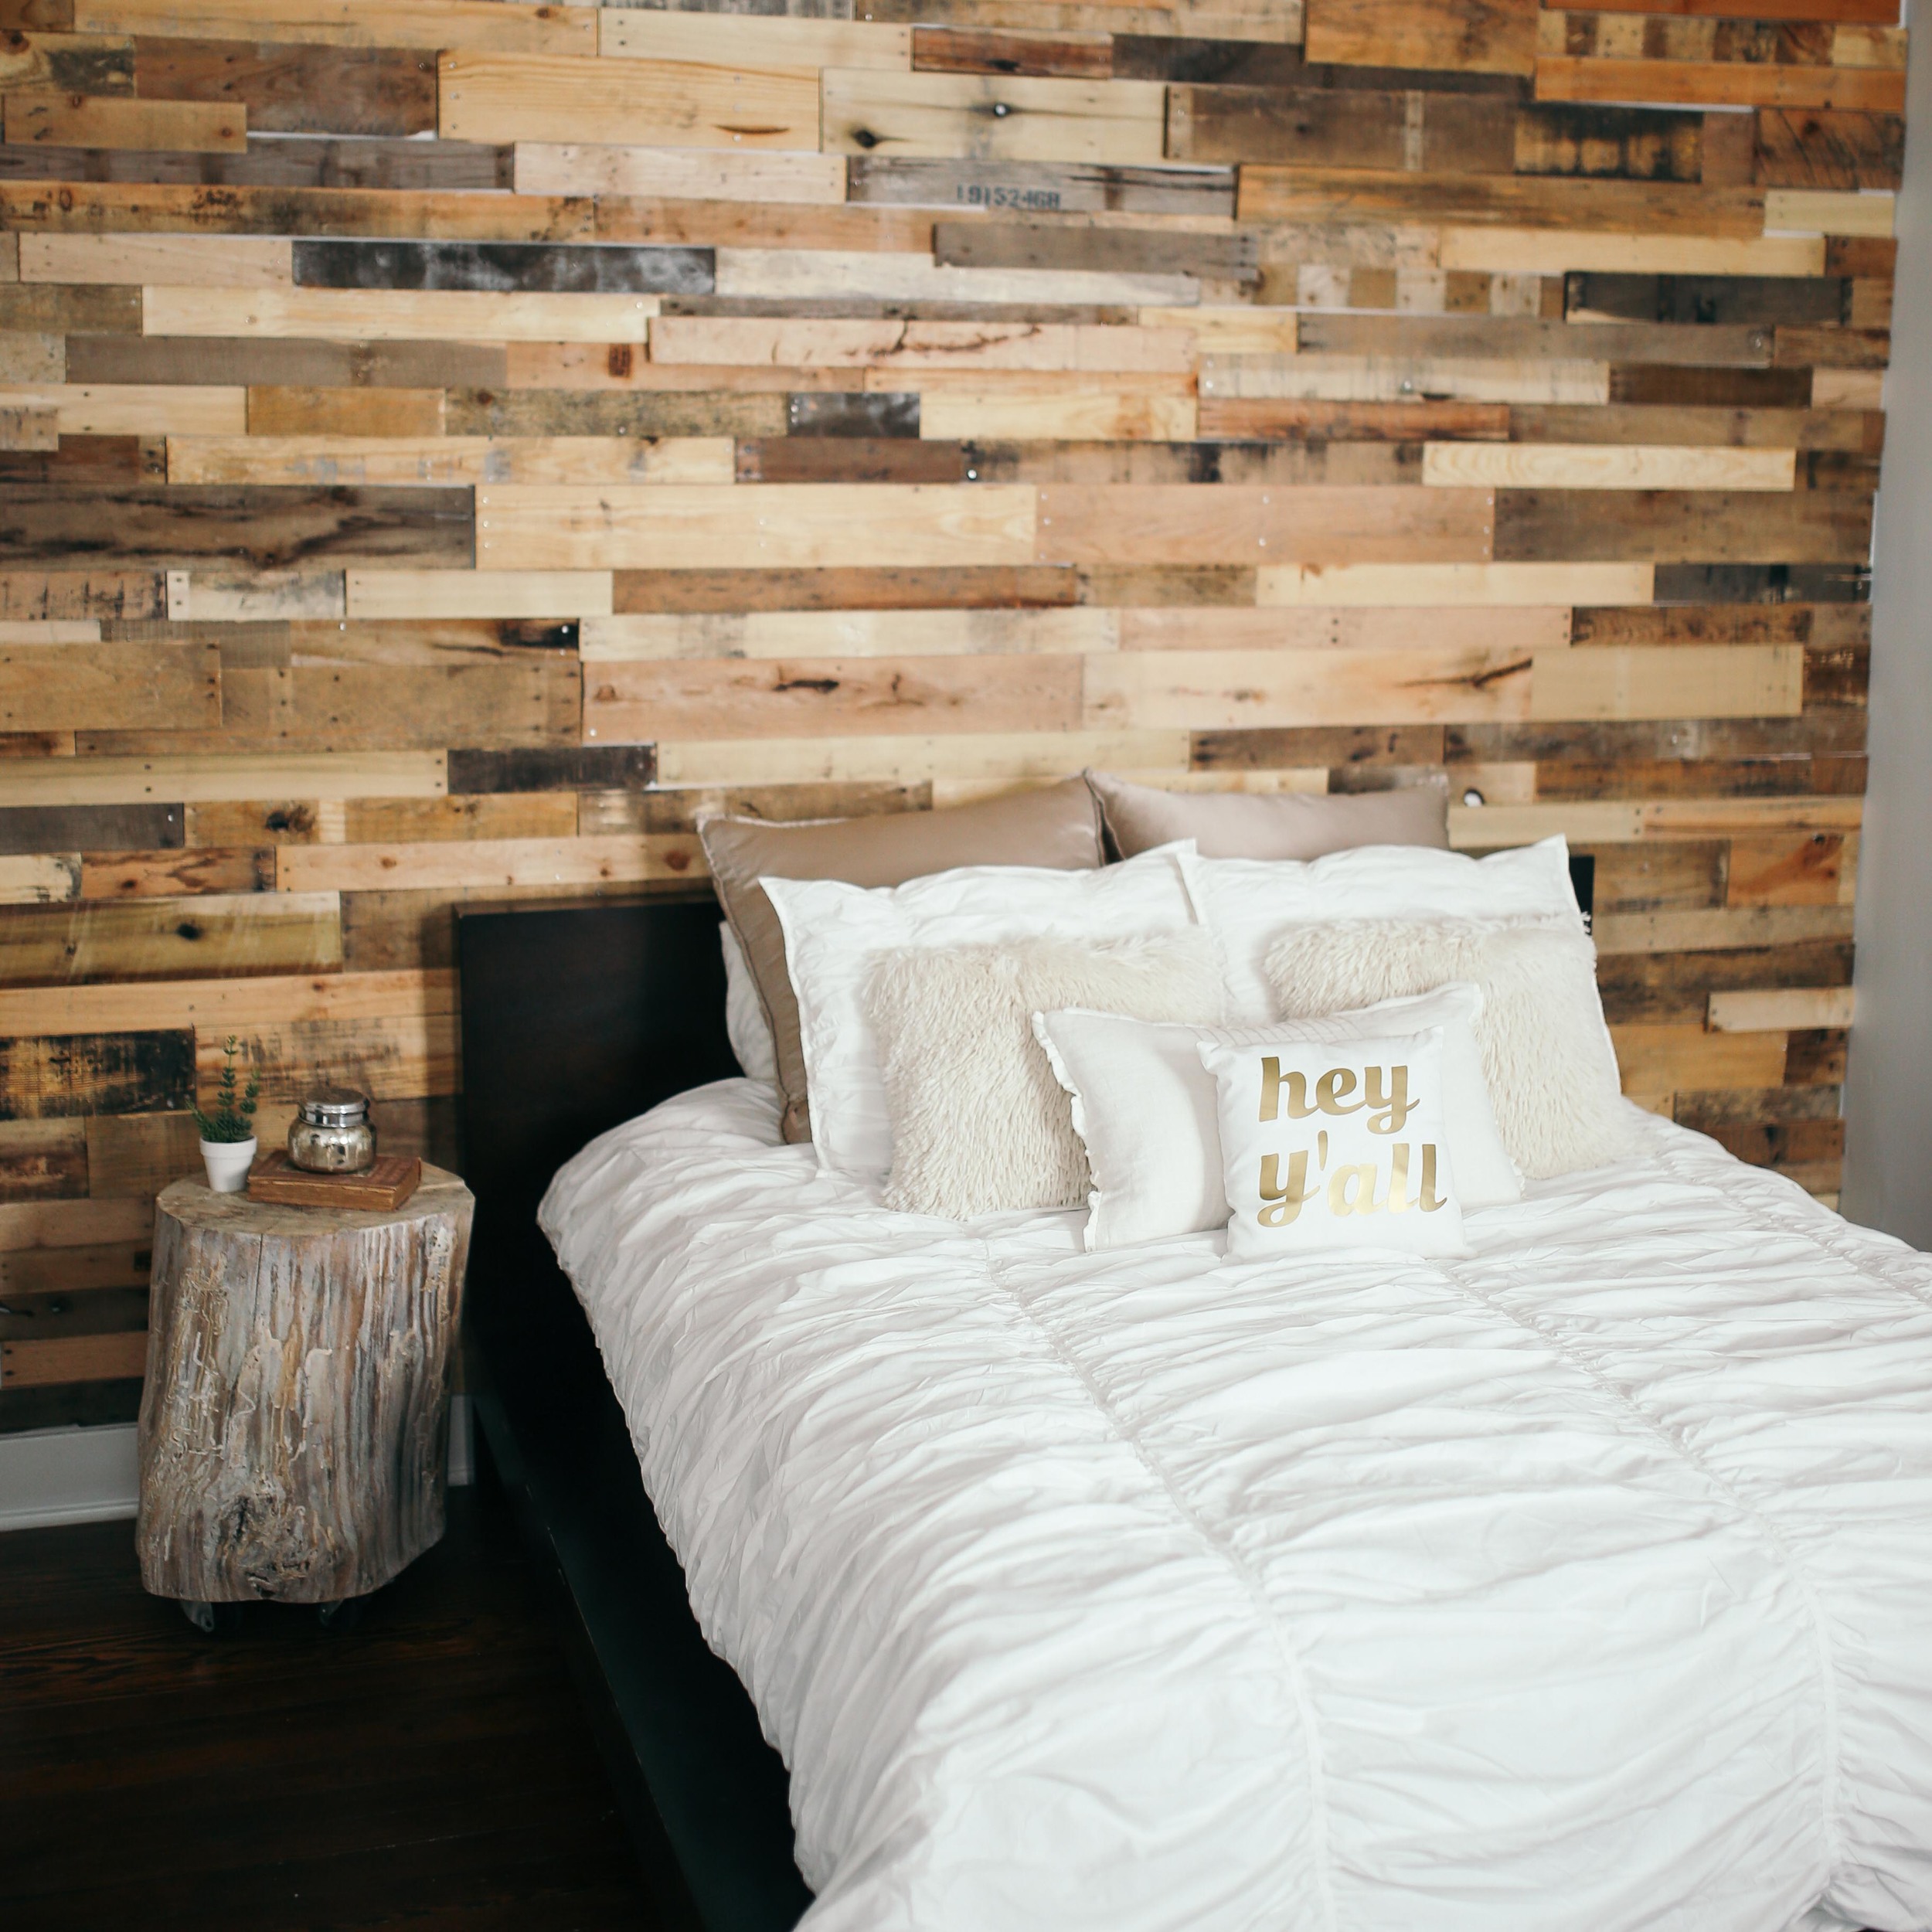
We recently decided to spruce up our downstairs guest bedroom. The room was originally painted a charcoal gray. Since the room faces the south it does not get very much light, as a result the room was pretty dark. In order to brighten the room up we painted it white, but it then felt a little too sterile and clean. To spice things up we opted to add an accent wall with reclaimed wood to soften the room up and give it some character. I had previously installed a wood accent wall at our old house using old reclaimed bead board from a 1920's home that I had remodeled. But this time I wanted to do something a little different and a little lighter, so I opted to use some old natural colored pallet wood.
This is a reclaimed wood wall that I did at our old house on S. Adams Street using old bead board. I wanted something a little different for the guest room at our new house.
The great thing about pallet wood is that it has a soft natural feel, has tons of character, and is readily available for on the cheap. The only problem w/ using it is that you have to pull apart pallets to get it. I have done a few projects with pallet wood in the past and I can tell you, pulling apart pallets is no easy task. The wood is normally nailed together with special nails that twist and are grooved like screws, making it extremely difficult to pull apart. After pulling apart 23 pallets for another project, I swore I would never ever do it again.
This time I did some research and I called a few companies that made pallets and asked if I could buy some bulk already disassembled wood. Luckily, I found a company in Grand Prairie called Pallet Depot that would sell me the bulk wood.
I purchased one large crate from them and loaded it in my truck. One crate was more than enough to do the wall and it the wood they gave me was awesome. I wound up w/ a nice variety of pine, oak, maple, new and very worn wood. Exactly like what I was hoping for.
The cool thing about pallet wood is that it comes in so many different shapes, sizes, colors and textures and because of that it looks great on a wall or any project. But the bad thing about doing something like a wall with pallet wood is that the different shapes, sizes, and textures make it difficult to join up together on a wall. When you have so many different widths the wood does not line up. Additionally, b/c so much of the wood is weathered the edges on the wood are rarely straight.
To accommodate for the crooked edges and the different widths, I decided to rip each board down on each side to 2 different sizes using my Ridgid Table Saw. That way it ensured that each piece of wood would be perfectly straight and I would have no problem lining them up. Each board was brought down to two different widths, a wide plant and skinnier cut. That way I could still have some width contrast on the wall, but each row would be the exact same size and perfectly level. Additionally, I cut each with my Ridgid Mitre Saw at a straight 90 degree angle, so that the boards would butt up against each other perfectly straight w/ no gaps.
Once the planks were all ripped and trimmed down, it was time to nail them to the wall. I didn't really do anything to prep the wall other than pull off 1 piece of molding and in hindsight, I would have left that wall painted dark gray. B/c it was painted white, you can see some of the white peaking through the cracks and holes in the wood. To nail the pieces of wood to the wall I used a 16 gauge Ridgid Finishing Nailer with my air compressor. I used nails that were 1 1/4 long.
I started in the top left corner working my way down 2-3 at a time and then accross. Nailing the boards up w/ the finishing gun is a breeze and also pretty fun. The biggest challenge was trying to do different shades of wood and really spread out the colors. I didnt want to have any of the same type of wood touching and really wanted to maximize the differences in the patterns.
I would take the wood all the way to the right as far as the plank would go, and then at the very end I went back in and measured and trimmed the final pieces. I also had to do a few cut outs around a vent and electrical outlet. In the end I think it really turned out great and gave some amazing character to the room!


